

Making your own curtain panels allows you to create curtains that fit the window perfectly and match the other furniture in the room. The lining gives the Cheap Sheer Curtain Fabric a sense of body and helps block light when the curtains are closed. The header is a decorative edge sewn into the rod. It can be easily created by slightly increasing the overall curtain length and adding a simple stitch on the top of the panel.
1. Use a tape measure or standard ruler to measure the curtain rod of the window to determine the required fabric width. Multiply this number by 2 to keep it full. This is the final width of the fabric.
2. Determine the length of the panel by measuring a few inches from the top of the pole to the window below the window sill, or to wherever you want the curtain to reach. This is the finished length of the fabric.
3. Calculate the cutting width of the fabric. In the finished width measurement, add 1 inch of the seam allowance. Divide this number by 2 to determine the cutting width of each of the two panels.
4. Calculate the cutting length of the fabric. On the finished length, add 1 inch to allow for the seam and fold at the top, plus a 1-inch header, plus about 1/4 to 1/2 inch to facilitate installation of the shaft.
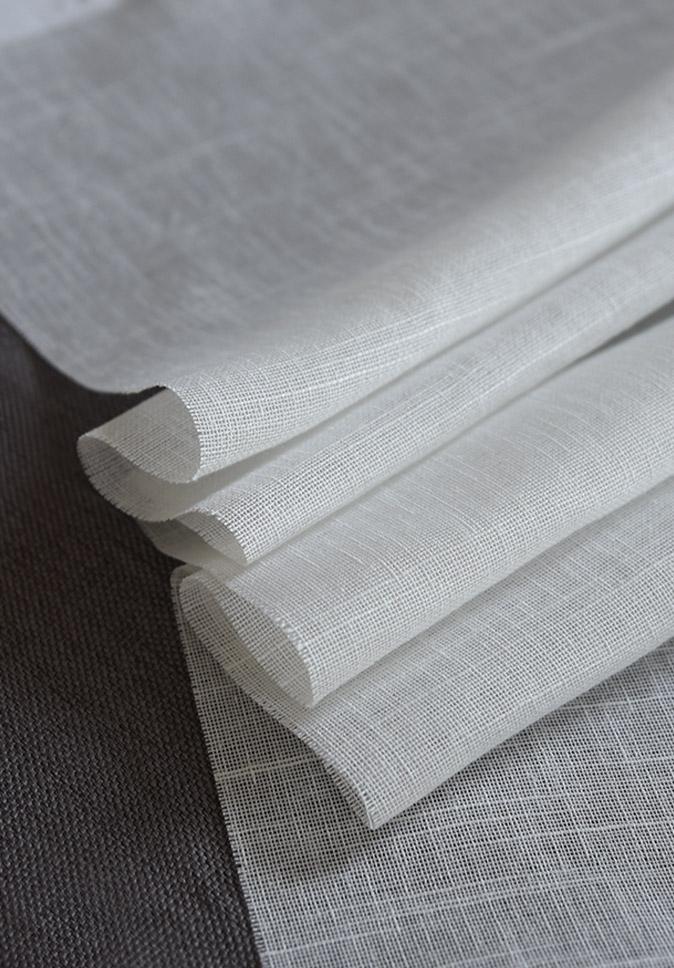
5. According to your measurement, cut the decorative cloth and interlining cloth with sharp sewing scissors. You will cut a total of four pieces of fabric, two pieces per panel.
6. Put the right side of a panel and the right side of a liner together. Sew 1/2 inch seams around the panel, keeping the upper edge open. Do the same for the other panels.
7. Press the lining seam allowance to the lining on the two panels. Cut diagonally at the bottom corner of the panel. Remove a small amount of excess fabric in the seams to help make the corners flat.
8. Turn out the right side of one of the panels. Press down on the panel to make it smooth and the seams neat. Lower the right side of the panel, then press the top down 1/2 inch.
9. Turn the top to the bottom again, this time allowing the height of the rod plus 1 inch of header height, plus 1/4 to 1/2 inch of tightness. Press down on the crease at the top of the panel.
10. Sew along the width of the panel so that the sewing is close to the bottom crease.
11. Determine the sleeve depth by inserting the rod into the newly stitched pocket. Loosely nail the panel at the top of the sleeve to be sewn. Make sure the panel is easy enough to slide easily on the rod. Remove the rod.
12. Sew along the width of the panel, taking the top of the pin bar as the standard and taking the pin as the guide.
13. Repeat steps 8 to 12 on the second panel.
14. Slide the panel onto the pole and install it on the window.