

Any clock made with handcraft vision skills and elements is superior to one purchased from a store. But why is that so? This is because of the unique personality and crafty feature where you want to get in the market. Making the wall clock at home is the most interesting and enjoyable project.
Undeniably, you still need a clock for your walls. You might have your phone or Alexa, but the charm of designer wall clocks on your wall is unbeatable. Besides painting and photo frames, you can decorate your wall with an artistic DIY wall clock that offers a strong ethnic base to the decor.
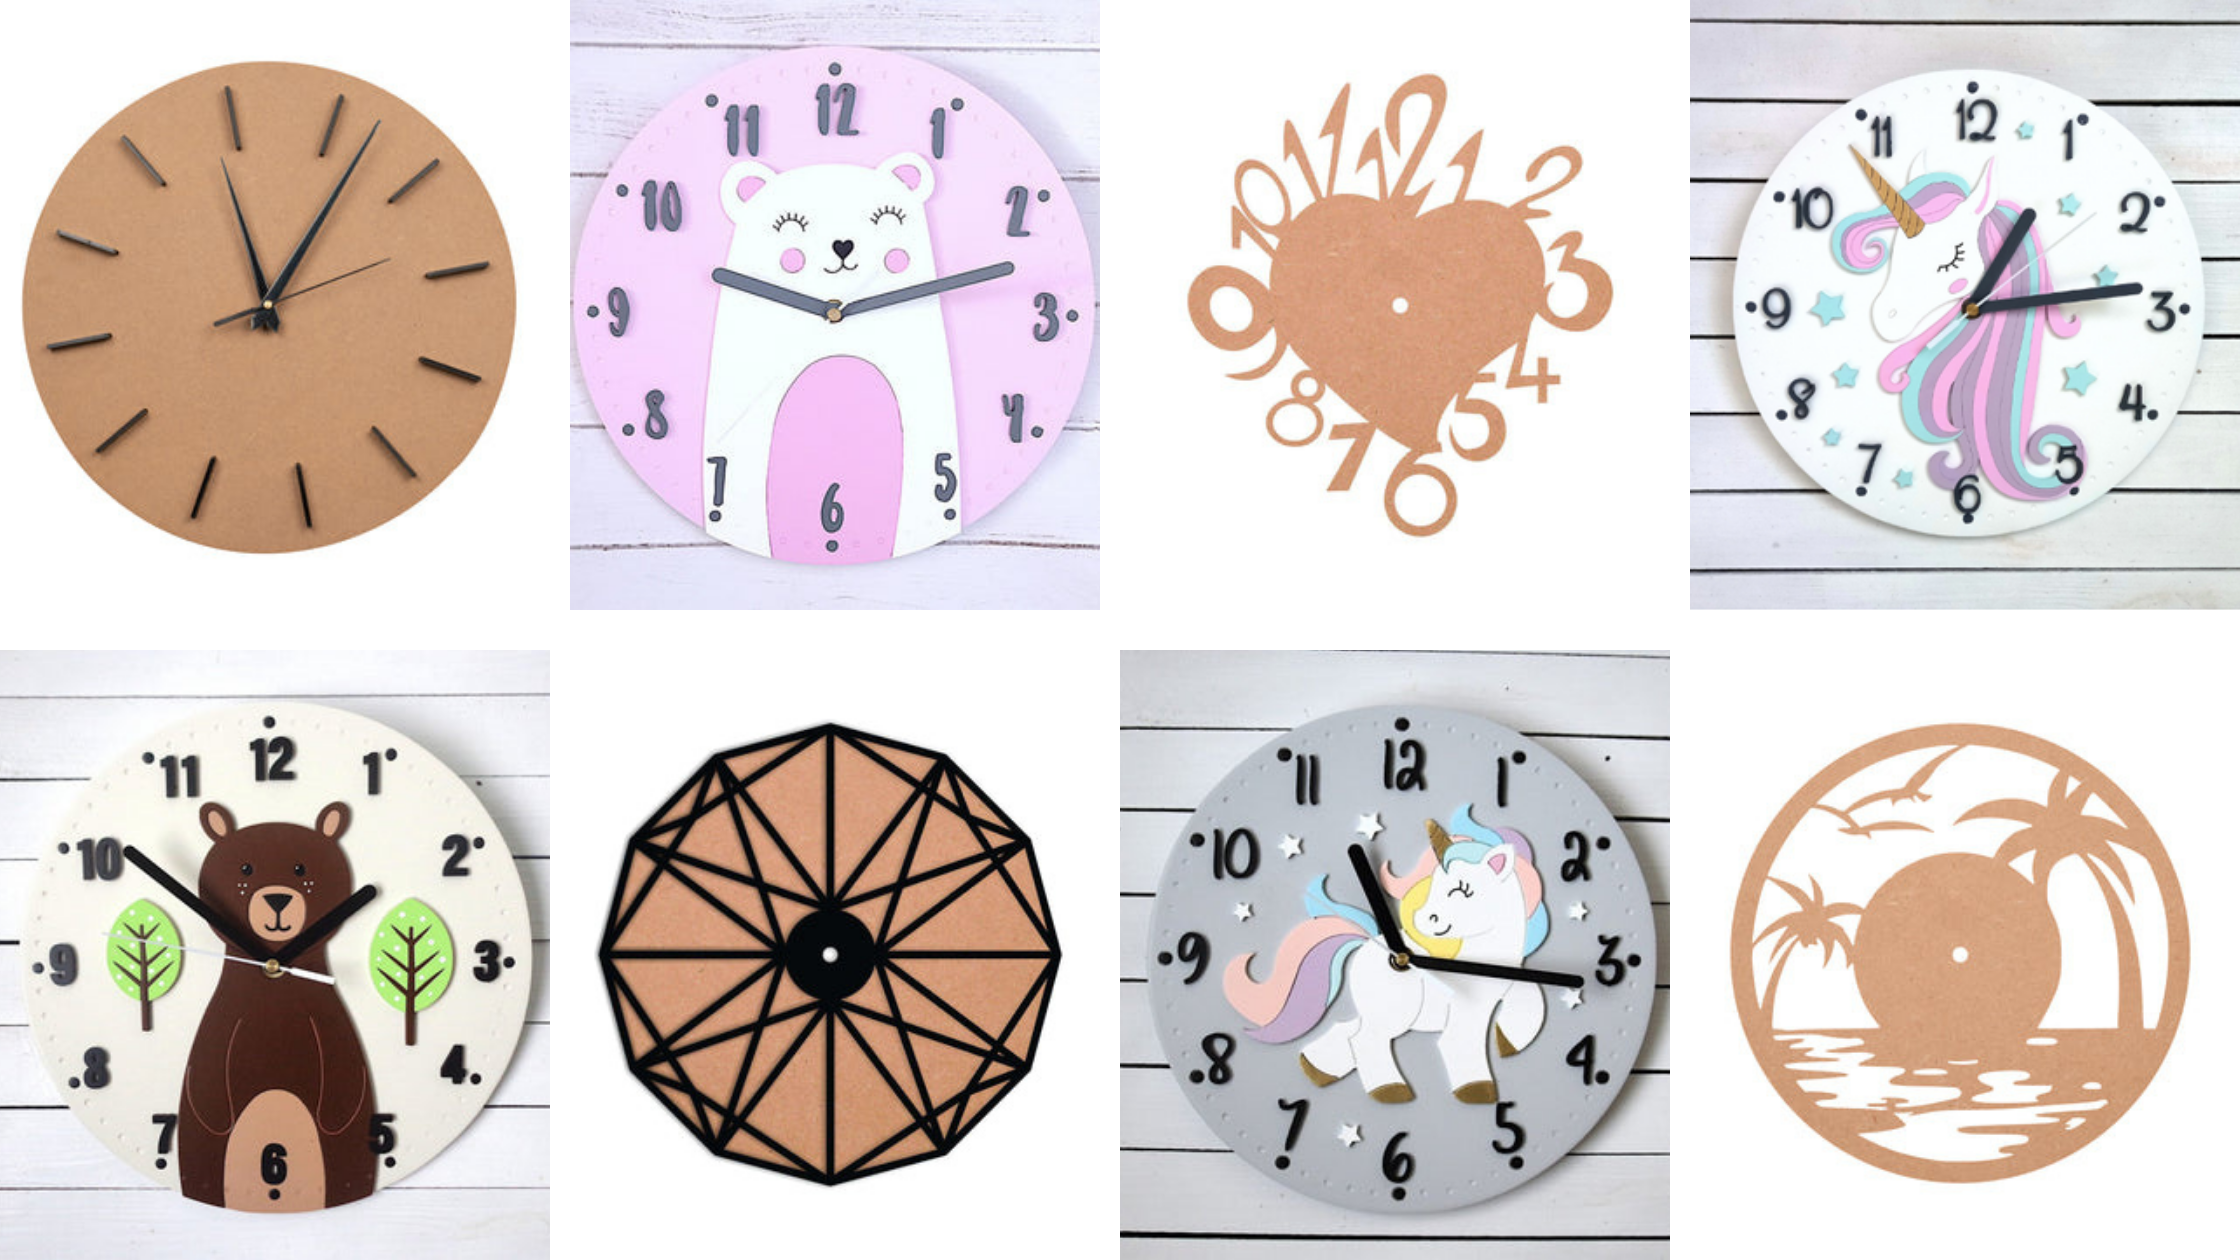
Let's get more fun by making the stylish DIY wall clock with an MDF clock base. To work on this DIY wall clock all you need is the basic clock essential and art equipment.
Let's get started!
Materials you need to Design a Homemade DIY Wall Clock
- MDF clock base
- Clock machine with hands
- Acrylic colors
- Painting brushes
- Varnish
Step to proceed:
Step 1: Get the MDF clock base as per your place and purpose of decor
While making the MDF DIY wall clock at home you need to consider where and how you are planning to hang the wall clock on that Wall. If you are seeking for Kids' room wall clock can choose the best as per the nature and liking of the kids.
Similarly, the living room wall clock used a modest and elegant base that is ideal for fine artwork.
Step 2: Coat the base with white acrylic color
Adding the base before painting the colours allows for a smooth surface on which to secure the colours. You can also use Gesso to coat the MDF clock base for a strong, long-lasting finish.
If you don't have Gesso, you can use black or white acrylic paint to brush up to the base.
Step 3: Start Your Artwork
Once you are done with your base, start painting the floral design on the MDF clock base. The following are multiple easy-to-paint designs you can paint:
- Floral art
- Mandala art
- Tree art
- Calligraphy painting (especially for quotes and phrases)
Note: If you are looking for heavy artistic work, you can get the tracing paper. Trace your design on the MDF wooden base, then start painting the enchanting colors to the base.
Step 4: Let the colors dry
Once you are done with the colors, leave the board for a few hours and let the color dry completely.
Step 5: Apply the coat of Varnish
Now, apply the coat of varnish to the artistic base. This varnish is equally important to give the base a well-finished store-bought appearance to the base.
Step 6: Fix the installation elements
The MDS clock itself offers a hanging hook for easy installation. Here, you only have to fix the clock machine with Clock hands. If needed you can also attach the numerical to the base.
Your easy-to-make wall clock is ready to go on your designated wall!
Wrapping up:
The best part of MDF material is that it offers a strong inevitable base that is highly ideal for all types of artwork. With high durability and extreme adaptability feature, you can enjoy making clocks with acrylic color, resin, decoupage, and do-it-yourself activities.
To dazzle you up more, hobby India offers you vivid varieties of MDF pre-marked as well laser process wall clocks. If you are looking to customize a trending designer MDF clock base for your living room, check out our premium quality collection at a competitive price.